
A link for this tutorial’s GitHub repo that shows all of the pieces working together is available the bottom of this page.
We’ll see how this works with the latest version of Rails 4.2.
Pre-requisites
Create Your Amazon Web Services (AWS) Account
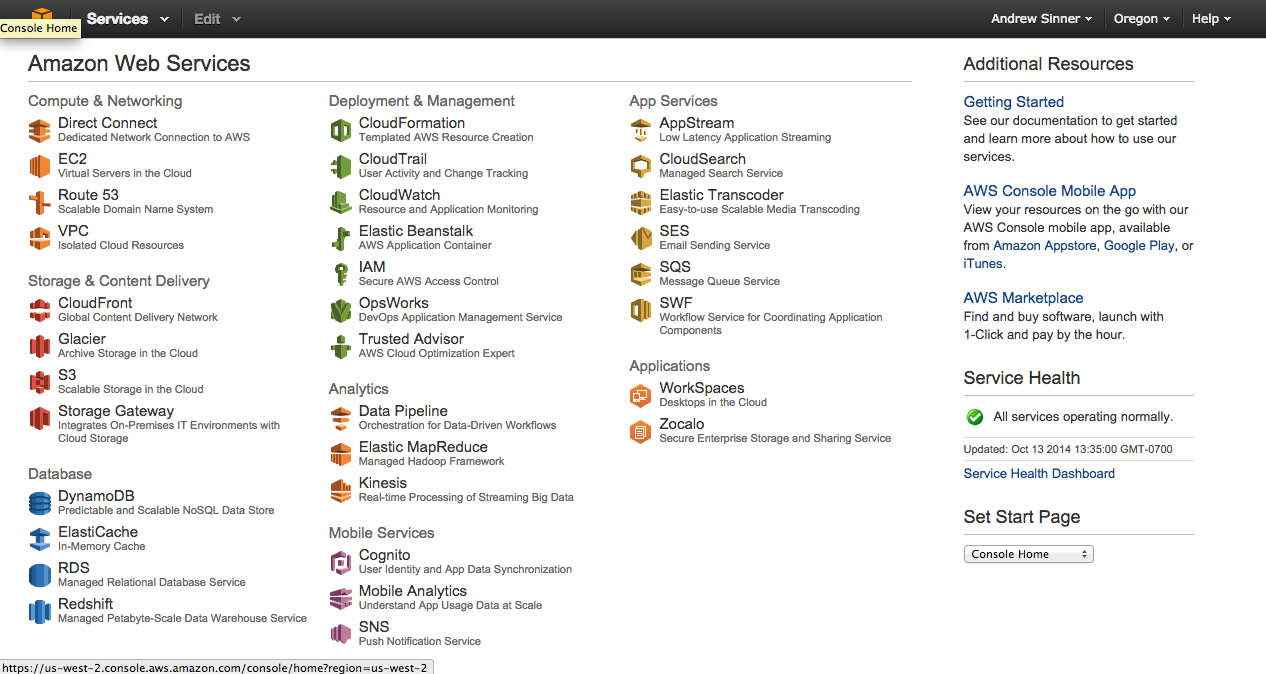
Let’s use Amazon’s Simple Storage Service (S3) in this project, which is the gold standard of file storage services. Before you get started with your app, you will need to create an Amazon Web Services (AWS) account (if you don’t already have one). AWS has a free tier that will suffice for this app. After creating your account and logging in, go to your AWS Management console. It should look similar to this (as of February 2015):
Under Storage & Content Delivery, click on S3.
Create a Bucket
After clicking on S3 under your management console, you will be taken to a screen that looks similar to this:

This is your S3 dashboard. At this stage, you will need to create a bucket—all files that you upload to S3 are stored in buckets. I usually create one bucket for every Rails application that I build. Create your first bucket by clicking on the Create Bucket button. I’ll name mine my-first-bucket-tutorial.
Note: Bucket names must be unique across regions, so pick a bucket name you like, and select the region that is closest to you.

In the list of buckets, click on your newly created bucket. Nothing is there? Good. It should be empty since you haven’t uploaded anything yet. Let’s build a Rails application that will upload files to your bucket.
Getting Started
If you haven’t already updated your Rails gem to version 4.2, you can find more information here. The rest of this guide assumes you are running on Rails 4.2.
First, create your Rails app:
$ rails new upload_app
Then add the AWS SDK gem to your Gemfile:
gem `aws-sdk`
Don’t forget to run bundle install:
$ bundle install
Uploads Controller & Routes
Great, we’re off to a good start. What do we need next? We need some routes. Add this line to your config/routes.rb file:
resources :uploads
Go ahead and run rake routes in your terminal. We’ve got some new routes now. Let’s add an upload controller for these routes:
$ rails g controller Uploads new create index
We now have routes and a controller to handle requests to those routes.
app/controllers/uploads_controller.rb
We also have some view files to handle those routes (create these if you don’t already have them):
app/views/uploads/new.html.erbapp/views/uploads/create.html.erbapp/views/uploads/index.html.erb
The Upload Form
We’re going to need a form to upload our files. Open up your app/views/uploads/new.html.erb file and type this in:
<h1>Upload a file</h1>

<%= form_tag uploads_path, enctype: 'multipart/form-data' do %>
	<%= file_field_tag :file  %>
	<%= submit_tag 'Upload file' %>
<% end %>
Notice the use of form_tag. We aren’t going to be dealing with an object, so we don’t need to use form_for. Instead we’ll use form_tag. We’re going to use uploads_path for the action. The POST /uploads request maps to the uploads#create action that you can find by running $ rake routes in the command line. For the sake of navigation, let’s route our root_path to /uploads/new.
Add this to your routes.rb file:
root 'uploads#new'
AWS Credentials
You’re going to need credentials to communicate with AWS. Learn more about how to get your AWS security credentials here.
After you have your security credentials, be sure to set them in your environment.
$ export     AWS_ACCESS_KEY_ID=INSERT_YOUR_ACCESS_KEY_ID_HERE


$ export     AWS_SECRET_ACCESS_KEY=INSERT_YOUR_SECRET_KEY_HERE
Keep your security credentials secure. Never expose your AWS_SECRET_KEY!
Put Your Bucket in the ENV
It can help to put the bucket that you’re working with in the ENV (environment variable) as well. Substitute in the name of your bucket that you created earlier.
$ export S3_BUCKET=INSERT_YOUR_BUCKET_NAME
Configure Your Application with AWS
Before we begin using the AWS::S3 API, we need to configure our app with the AWS SDK. We do this by using the security credentials we set up in the ENV earlier.
Add an initializer file called aws.rb in your config/initializers/ directory. Put this code inside your aws.rb initializer file:
AWS.config(
  :access_key_id => ENV['AWS_ACCESS_KEY_ID'],
  :secret_access_key => ENV['AWS_SECRET_ACCESS_KEY']
)

S3_BUCKET =  AWS::S3.new.buckets[ENV['S3_BUCKET']]
Since this is an initializer file, don’t forget to restart your application. Now your application can talk to AWS.
Upload the File
Type the following code into your controller (we’ll go through this line by line after):
class UploadsController < ApplicationController
  def new
  end

  def create
    # Make an object in your bucket for your upload
    obj = S3_BUCKET.objects[params[:file].original_filename]

    # Upload the file
    obj.write(
      file: params[:file],
      acl: :public_read
    )

    # Create an object for the upload
    @upload = Upload.new(
    		url: obj.public_url,
		name: obj.key
    	)

    # Save the upload
    if @upload.save
      redirect_to uploads_path, success: 'File successfully uploaded'
    else
      flash.now[:notice] = 'There was an error'
      render :new
    end
  end

  def index
  end
end
Make an Object in Your Bucket
Let’s take a look at the first line:
# Make an object in your bucket for your upload
obj = S3_BUCKET.objects[params[:file].original_filename]
We can create objects in our S3 bucket using the following syntax:
object = bucket.objects['insert-your-key'];
We’ve already defined the bucket in the aws.rb initializer file that we created earlier. So we can just use S3_BUCKET to reference what bucket we are trying to create an object in.
Next, we call the objects['insert-your-key'] method to create the object in our bucket. The key that we insert is the name that the object will get in the bucket.
Our code looks a little different. Our key looks like this:
params[:file].original_filename
This is because we want our object to have the name of the file we uploaded. File uploads get stored in the params hash so we can get the name of the uploaded file using params[:file].original_filename.
Using this line, we create the object in S3 and save the object for further use.
Write the File Into Your Object
# Upload the file
obj.write(
  file: params[:file],
  acl: :public_read
)
Using the object we created in the first line, we can use the write method to actually write the file to S3. We pass in two params:
- file: params[:file]
- acl: :public_read
The :file param points to the actual file we need to upload.
The acl: :public_read tells S3 to make this file publicly accessible.
Create a new upload object
We’re going to need some way to keep track of what uploads got uploaded to S3 and where we can find them. We can do this by saving an upload object to the database that contains the URL and name of the S3 object.
# Create an object for the upload
@upload = Upload.new(
	url: obj.public_url,
	name: obj.key
)
If the object is successfully uploaded, we can call .public_url on it to get the URL to access it.
You might be thinking, “Wait, we didn’t create an Upload model yet to save to our database?” You’re right. We’ll get to that.
Save the Upload Object in Our Database
Save and redirect to all of our uploads or simply render the new form:
# Save the upload
if @upload.save
  redirect_to uploads_path, success: 'File successfully uploaded'
else
  flash.now[:notice] = 'There was an error'
  render :new
end
Create the Upload Model
Let’s create an upload model to store information about our uploaded files:
$ rails g model Upload url name
Migrate the database:
$ rake db:migrate
Great! We’re pretty close to being done.
Upload Index
Now let’s create a view that shows all of the uploaded files that we’ve saved.
First, go and gather all of the uploads in your controller app/controllers/uploads_controller.rb:
class UploadsController < ApplicationController
  def new
  end

  def create
    # ...
  end

  def index
    @uploads = Upload.all
  end
end
Put this view into your app/views/uploads/index.html.erb:
<h1>All uploads</h1>
<% @uploads.each do |upload| %>
	<div>
		<%= link_to upload.name, upload.url %>
	</div>
<% end %>
Wrapping Up
Start up the Rails server and start uploading files to see your work in action. After you upload your file, go to your index page and click on the link to go the file. You can see your files in S3 by logging into AWS, going to your S3 dashboard, and navigating into your bucket.
Well done! You just learned how to upload files using the AWS SDK. Give yourself a pat on the back, and build something awesome!
Ready to become a professional software developer? Learn more about getting trained in advanced software development »
To access the GitHub repo that accompanies this tutorial, click here.
