In my project, I wanted to implement an NSNotification observer (namely, UITextFieldTextDidChangeNotification). My initial thought was to use my go-to method for notifications:
addObserver:selector:name:object:
But that looked like this:
let notificationCenter = NSNotificationCenter.defaultCenter()
notificationCenter.addObserver(
    self,
    selector: "textFieldTextChanged:",
    name:UITextFieldTextDidChangeNotification,
    object: nil
)

func textFieldTextChanged(sender : AnyObject) {
    sendButton.enabled = messageField.text.utf16count > 0
}
The thought of typing out a selector name in an unchecked string scares the U+1F4A9/U+E05A out of me, so I decided on the method that I’m less familiar with. The block-based approach of
addObserverForName:object:queue:usingBlock:
seemed more in line with where I want to be thinking as a Swift developer.
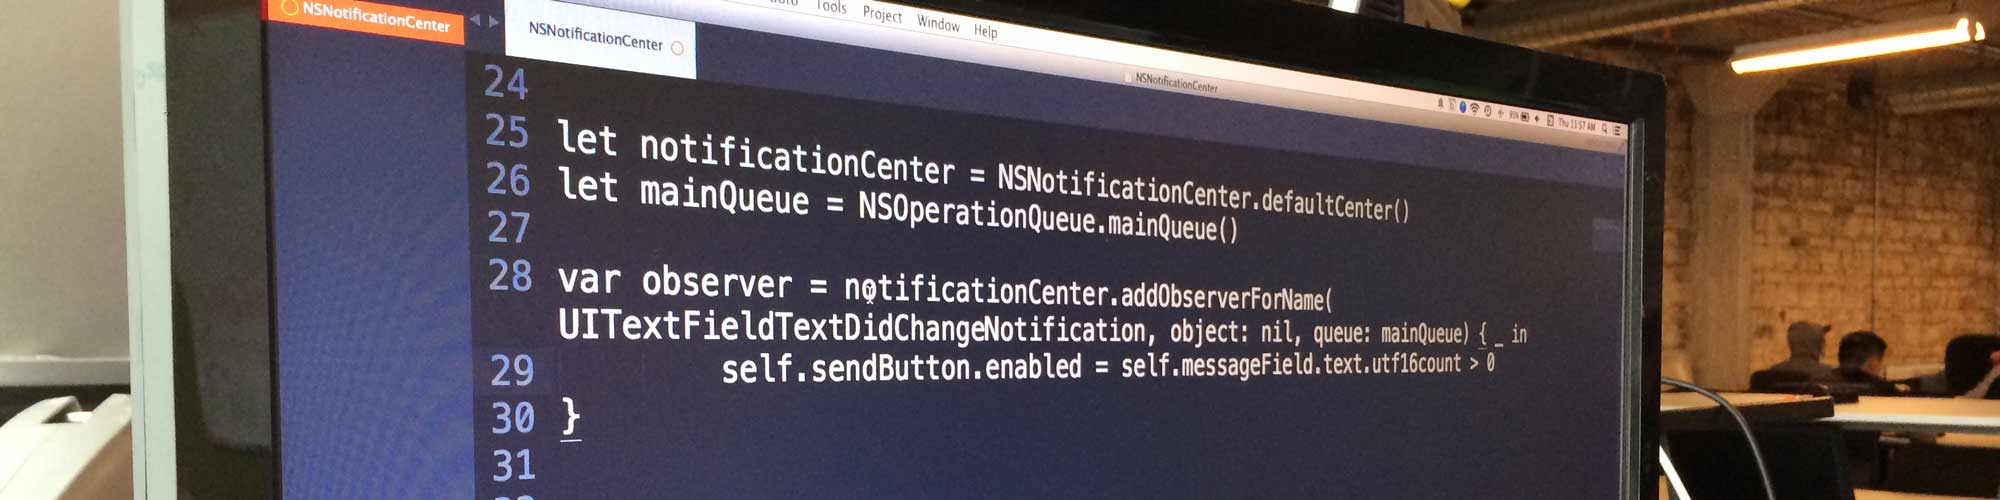
let notificationCenter = NSNotificationCenter.defaultCenter()
let mainQueue = NSOperationQueue.mainQueue()

var observer = notificationCenter.addObserverForName(UITextFieldTextDidChangeNotification, object: nil, queue: mainQueue) { _ in
    self.sendButton.enabled = self.messageField.text.utf16count > 0
}
Now, I’m no longer dependent on spelling the selector correctly, and I’m writing trailing closures, rather than transposing the Objective-C-way of doing things to a new Swift context.